Wedding seating chart timeline: when to do what
Updated:
Start your seating chart as soon as the venue is booked, but don’t lock in who sits where until most RSVPs are back. For a wedding that usually means: sort out the room and tables early, seat guests three to four weeks out, send final numbers to the caterer and venue one to three weeks out, and print in the final week. All timings here are rules of thumb; your venue’s and caterer’s deadlines come first.
The timeline at a glance
| When (wedding, rule of thumb) | What to do | Result |
|---|---|---|
| once the venue is booked | Set up the room with measurements, check the tables | You know how many guests fit |
| when invitations go out | Start the guest list with groups | A list you only add to |
| 4–6 weeks before | RSVP deadline, collect meal choices | A reliable headcount |
| 3–4 weeks before | Seat guests, compare layouts | A complete first draft |
| 1–3 weeks before | Final count to the caterer, floor plan to the venue | Handoff to kitchen and staff |
| final week | Work in cancellations, print the chart and cards (Event Pass) | Finished printouts |
| on the day | Guest list for the servers, one point person | A calm arrival |
For smaller parties like a birthday, this shrinks to a few weeks: RSVPs two to four weeks ahead, seating chart the week before. Having a rehearsal dinner too? Create it as a separate event under My events so the two guest lists don’t mix.
Once the venue is booked
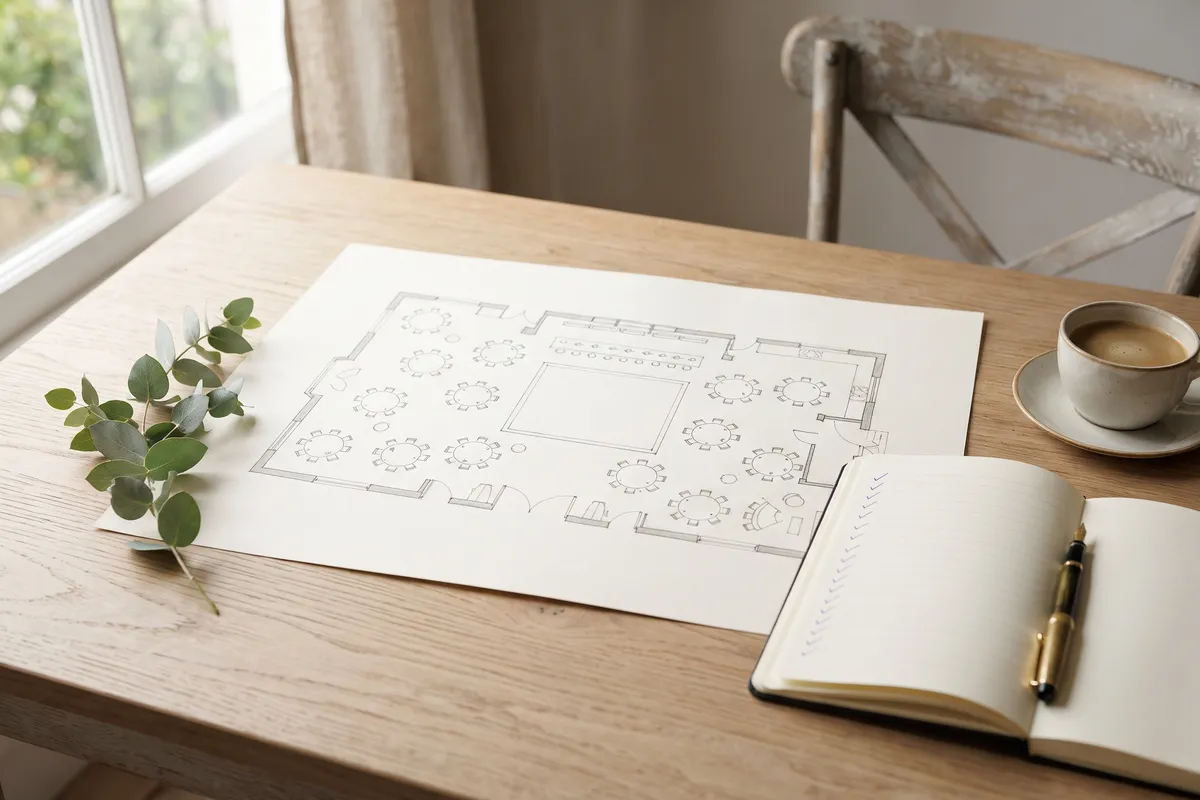
- Set up the room: Ask for a floor plan with measurements or measure it yourself, then enter the size in the planner or start from a template. A photo of the venue’s plan can go under View → Floor plan as background for tracing.
- Check the tables: Which tables does the venue or rental company have, how many, and what size? The table spacing guide has the rules of thumb, the table calculator a quick estimate.
- Mark fixed areas: Dance floor, stage or DJ, buffet, bar, entrance. Only then can you see how many tables really fit.
When the invitations go out
- Start the guest list: Type in everyone or paste your list from Excel or Google Sheets. The help article on importing your guest list explains how and has a blank template.
- Assign groups: Give each guest a group, such as “Bride’s family”, “College friends” or “Coworkers”. Later you can seat a whole group at a table in one click.
- Set the RSVP date: Four to six weeks before the wedding is common. More in the guide to RSVP deadlines and reminders. Ask for the meal choice on the RSVP card or form so you don’t have to ask twice.
Four to six weeks before: collect RSVPs
- Track each reply: Next to each name is a button that switches between “No reply”, “Attending” and “Declined”. The totals are shown above the list, and the RSVP filter finds everyone who hasn’t answered yet.
- RSVPs by link: With the Event Pass, guests reply by link with their meal and allergies, and you bring the answers in with one click.
- Meals and allergies: Add them to each guest while the replies are fresh. The guide on meal choices and allergies covers what the caterer needs.
- Note seating wishes: Who should sit at the same table, and who had better not? Record it under Seating wishes and suggestion.
Three to four weeks before: the seating plan
- Work from the center out: First the head table or sweetheart table, then parents and family, then friends. If a group doesn’t fit at a table, the planner tells you how many seats are missing and changes nothing.
- Use a suggestion as a starting point: Suggest a seating plan spreads guests across free seats by group and wishes. With Only seat guests without a table, everything you placed by hand stays put.
- Compare two layouts: Not sure whether banquet tables or rounds work better? Create a second variant. The guest list stays the same, and two variants per event are free.
- Keep a spare seat or two: A little slack absorbs late additions without reshuffling a whole table.
One to three weeks before: hand off to caterer and venue
- Final count to the caterer: Many caterers want the final headcount and meal counts one to three weeks ahead. With the Event Pass you print a catering list with totals overall and per table.
- Floor plan to the venue: Print the floor plan with table numbers as a PDF, to scale if you like, with the guest list by table attached. Both are free.
- Check the list: The Checklist under Review & print shows who still has no seat, which tables are over capacity, whether guests who declined still have a seat and which seating wishes aren’t met.
In the final week
- Work in cancellations: Set the guest to “Declined”. If they still have a table, Free up seats releases it. Every new export is up to date.
- Print: Allow a few business days for a print shop; at home it takes an evening. Print the chart, escort cards and place cards (all Event Pass) last, since they change with every seat swap. A printed chart doesn’t update itself; the seat finder with QR code (also Event Pass) does, a few seconds after the change, as long as the planner is open and online.
- Back it up: Download a project file and add the date to its file name, or sign in for free so the plan is on a second device too.
On the day
Give the catering captain a printed guest list by table, and put the plan on one person’s phone, such as the maid of honor or a wedding coordinator. Keep a few blank place cards and a pen for surprise guests. If someone can’t make it at short notice, nobody has to reprint: one empty seat at a table is barely noticeable.
FAQ
When should the wedding seating chart be finished?
When your caterer needs the final count, usually one to three weeks before. Small changes after that are normal.
Should I make the seating chart before or after RSVPs?
Both. Set up the room and tables before, so you know how many guests fit. Assigning guests to tables is worth it once most RSVPs are in.
What if guests don’t RSVP?
Follow up personally a week before the deadline. Anyone still silent gets a quick call; after that, plan with what you know and keep a spare seat.